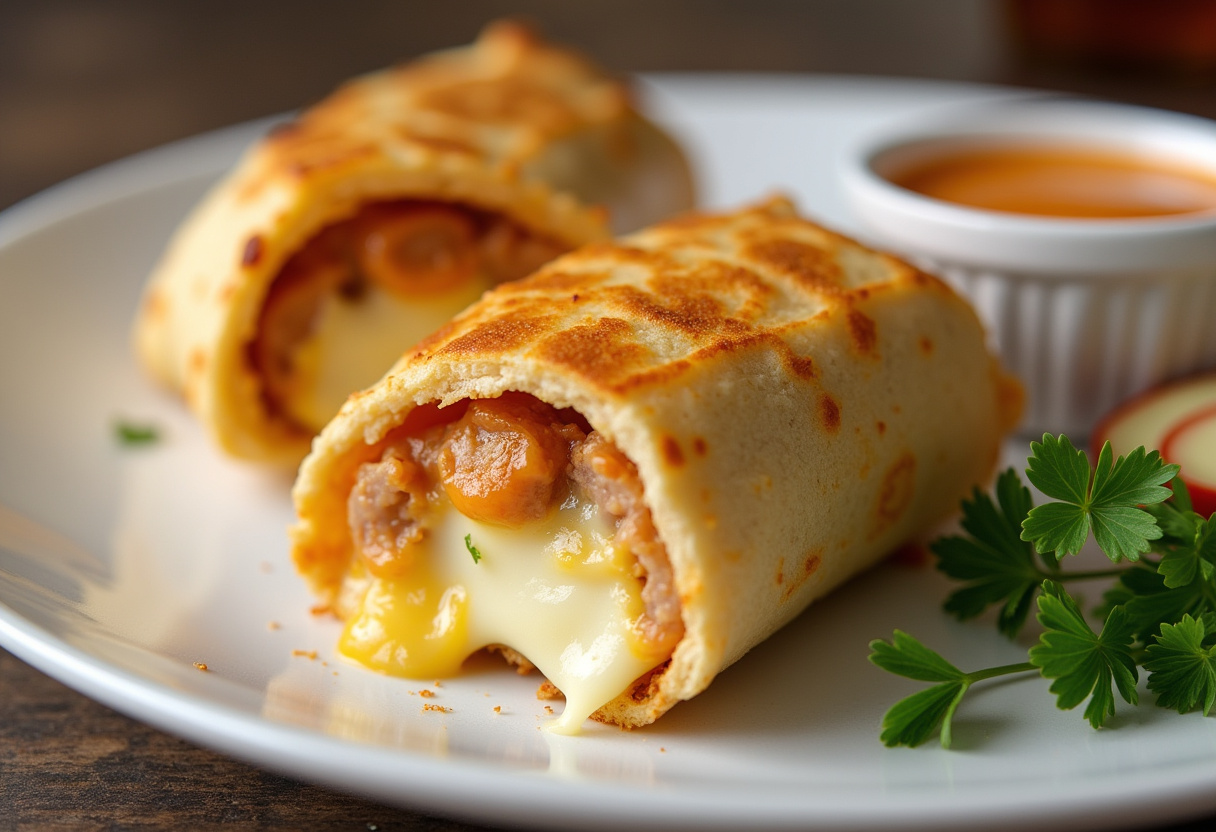
Looking for a quick, delicious, and satisfying meal that will please the whole family? These Cheesy Garlic Chicken Wraps are the perfect solution for busy weeknights, game day snacks, or even a fun weekend lunch! Packed with tender, garlicky chicken and oozing melted cheese, these wraps combine comfort food flavors with easy preparation. What makes them even better is how customizable they are – you can add your favorite veggies, switch up the cheeses, or serve them with different dipping sauces to create endless variations.
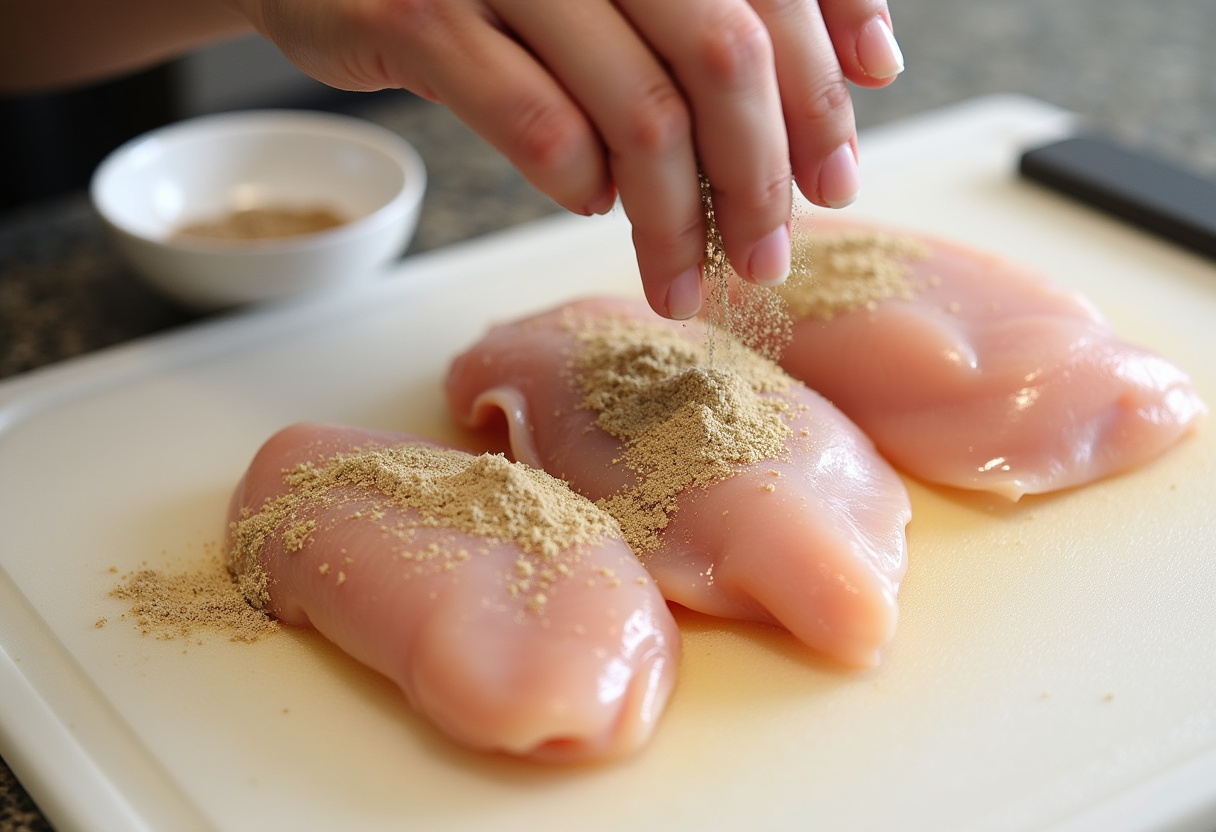
Begin by patting your chicken breasts dry with paper towels – this helps the seasoning stick better. In a small bowl, mix together the garlic powder, paprika, salt, and black pepper. Rub this spice mixture all over the chicken breasts, making sure to coat both sides evenly. Let the seasoned chicken sit for 5-10 minutes to allow the flavors to penetrate while you prep the other ingredients.
Pro Tip: For extra garlic flavor, make small slits in the chicken and stuff with minced garlic before seasoning. This technique works wonderfully in our Crustless Spinach Quiche too!
Step 2: Cook the Chicken
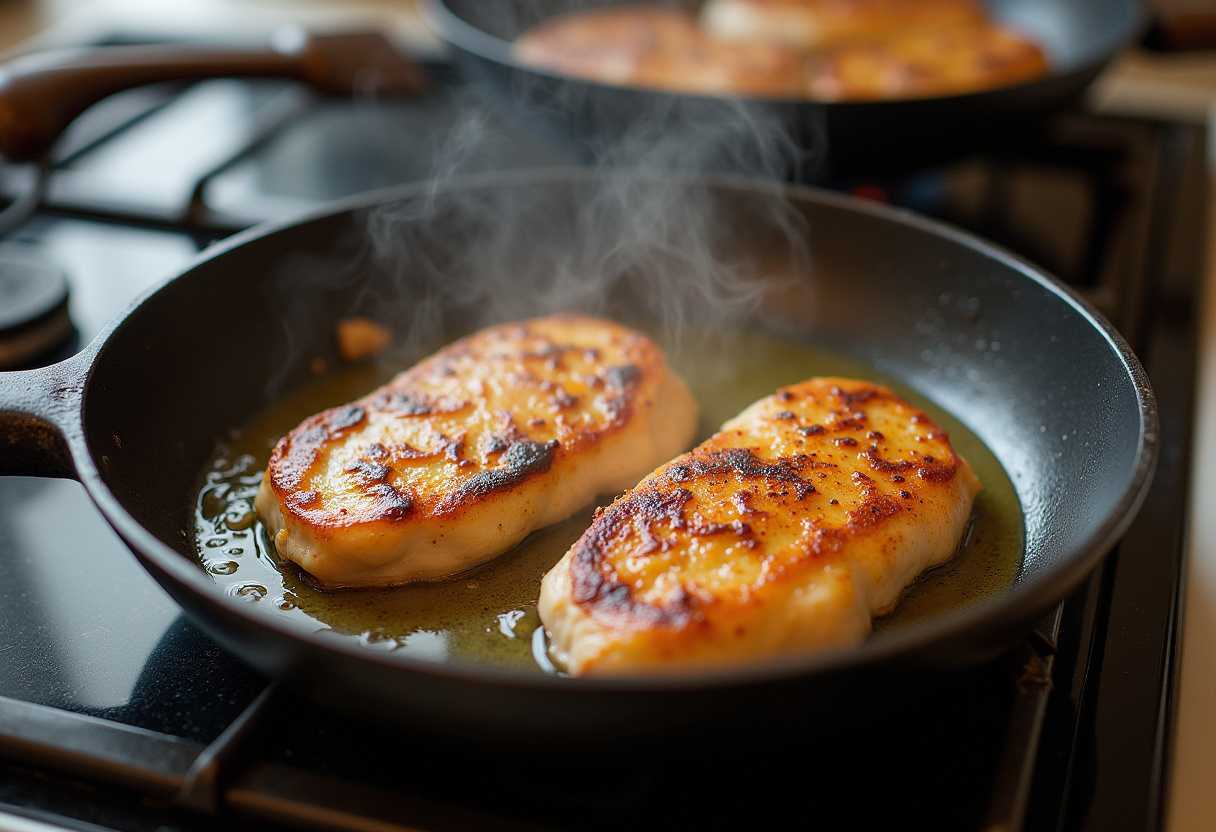
Heat olive oil in a large skillet over medium-high heat. Once hot, add the seasoned chicken breasts. Cook for 6-7 minutes on the first side until nicely browned, then flip and cook another 6-7 minutes until the internal temperature reaches 165°F. Remove from heat and let rest on a cutting board for 5 minutes – this keeps the juices inside when you slice it. Then cut into thin strips about ¼-inch thick.
Time-Saving Tip: You can use leftover or rotisserie chicken to make this recipe even quicker! Just warm the chicken with some garlic butter before assembling.
Step 3: Assemble the Wraps
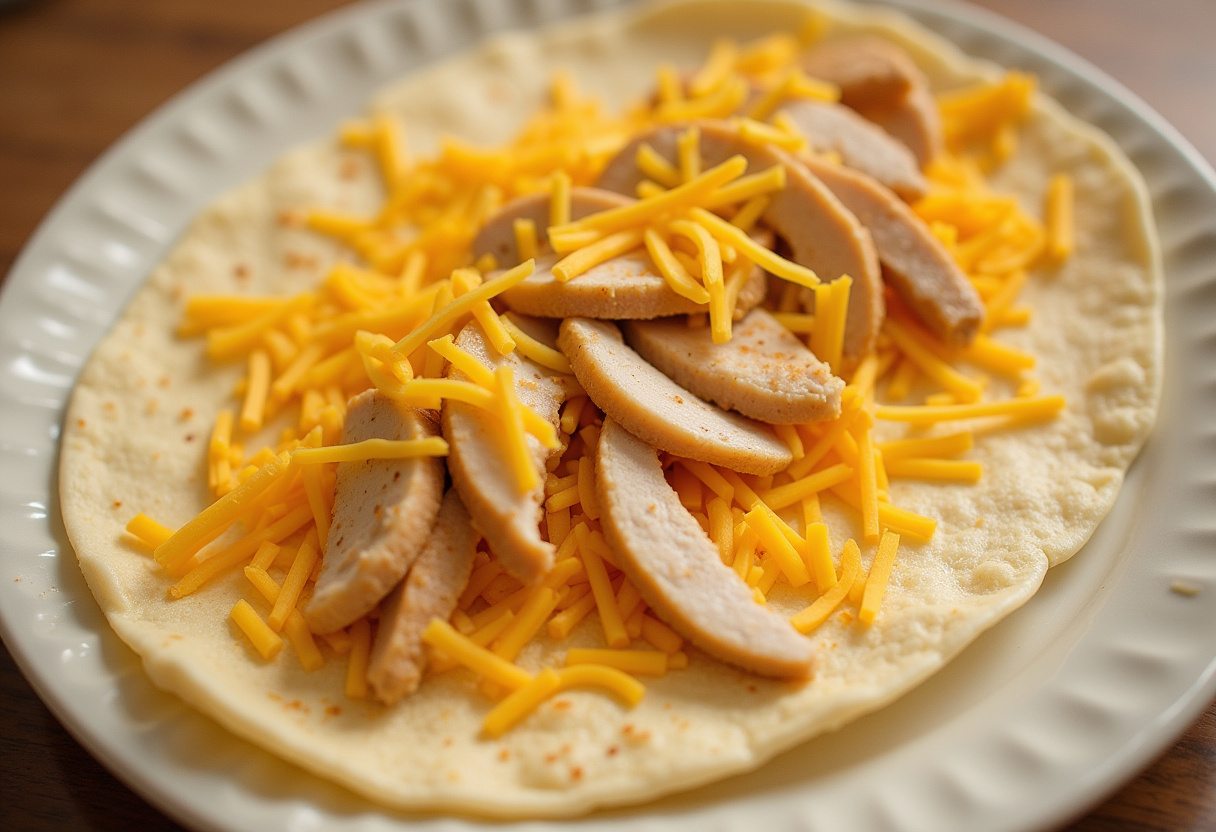
Lay out your tortillas on a clean work surface. In a small bowl, mix together the mozzarella and cheddar cheeses. Sprinkle about ¼ cup of the cheese mixture in the center of each tortilla, leaving about 2 inches clear at the edges. Divide the sliced chicken evenly among the tortillas, placing it over the cheese. Drizzle about ½ tablespoon of melted butter over the chicken on each wrap.
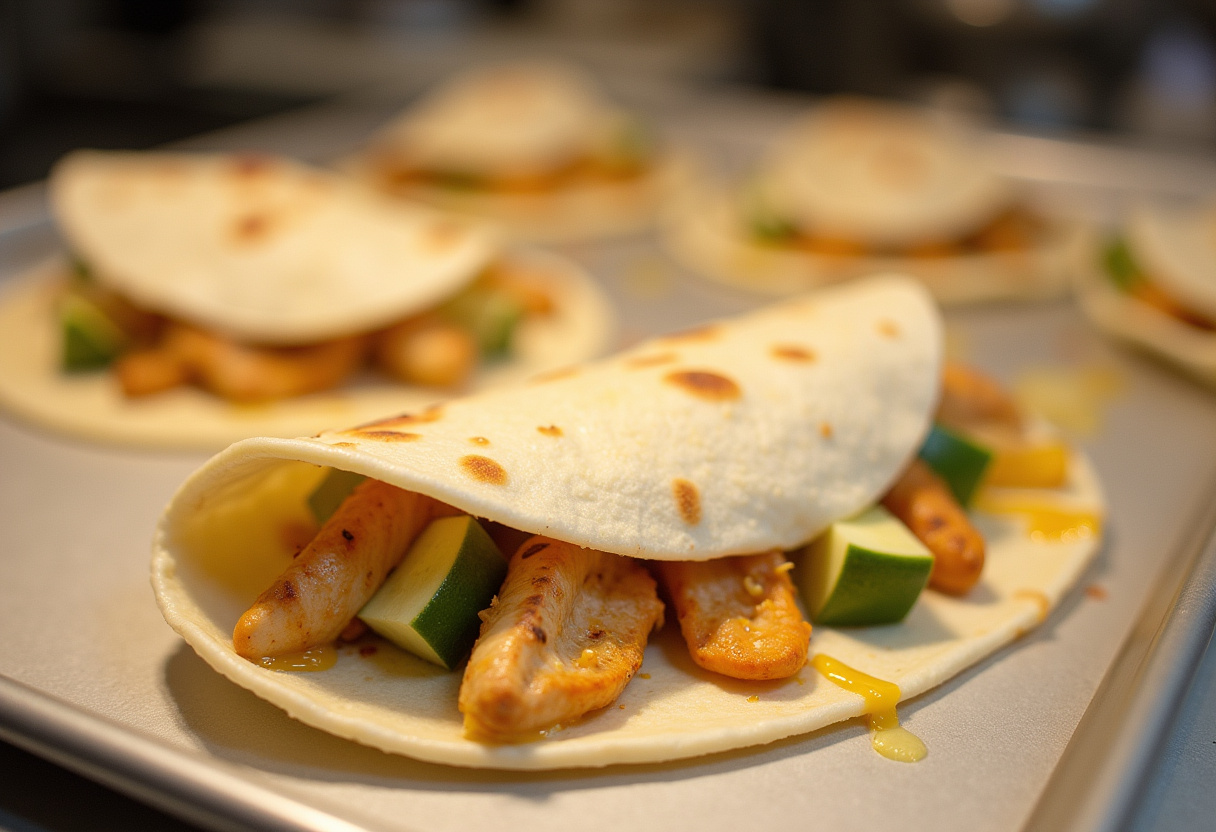
Now for the folding: First fold in the sides about 1 inch, then starting from the bottom, roll up tightly while tucking in the sides as you go. Place seam-side down on your work surface. Brush the tops lightly with any remaining melted butter for extra crispiness and flavor.
Preheat your oven to 375°F (190°C). Line a baking sheet with parchment paper or lightly grease it. Arrange the wraps seam-side down, spacing them about 1 inch apart. Bake for 8-10 minutes until the cheese is fully melted and the tortillas are golden and slightly crispy. If you want extra browning, you can broil for the last 1-2 minutes – just watch carefully to prevent burning.
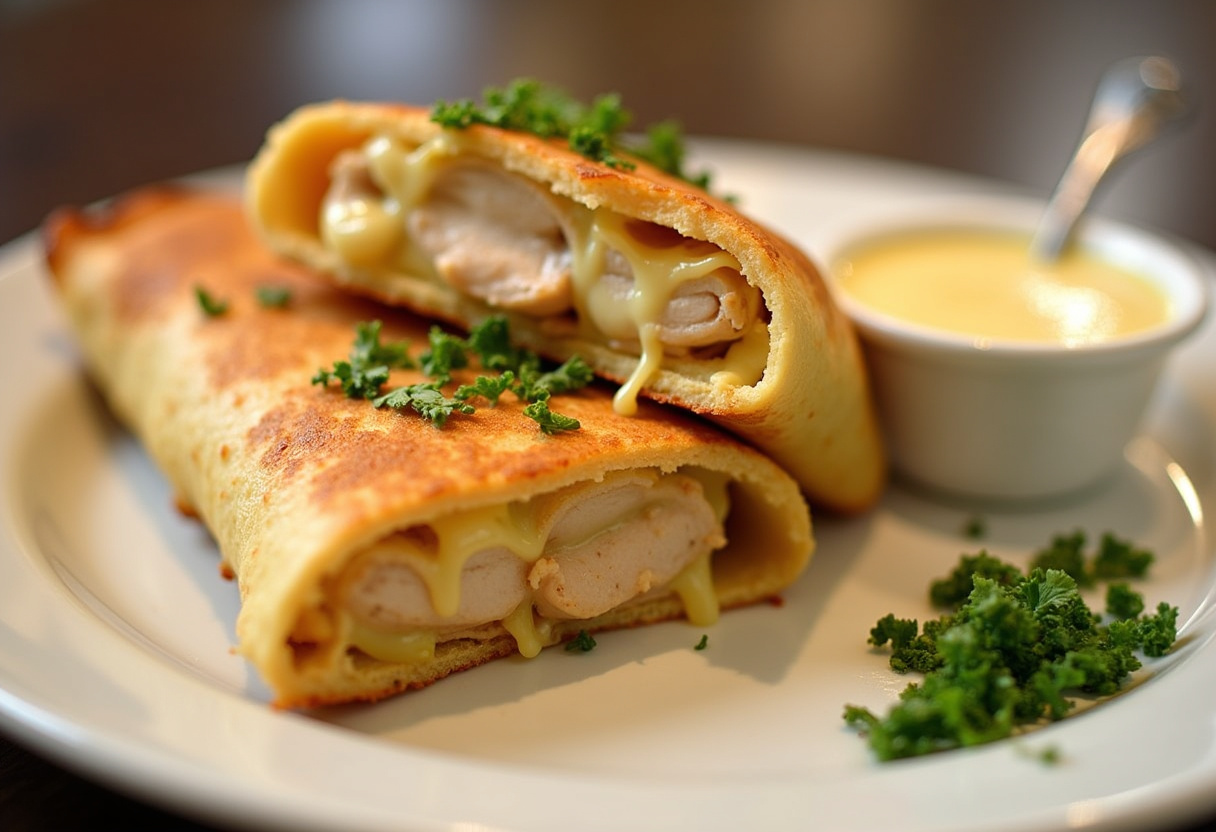
Remove from oven and let cool for 2-3 minutes before serving – the filling will be extremely hot! Sprinkle with dried parsley for color if desired. Serve warm with your favorite dipping sauces like ranch, marinara, or this delicious garlic aioli from our friends at Home Food Services.
4. Tips for Perfect Cheesy Garlic Chicken Wraps
Use fresh garlic: While garlic powder is convenient, adding 2-3 cloves of fresh minced garlic to the chicken while cooking takes the flavor to another level.
Customize your cheese: Try different cheese combinations like pepper jack for spice, gouda for smokiness, or fontina for extra creaminess.
Add veggies: Sautéed spinach, roasted bell peppers, caramelized onions, or even some avocado slices make excellent additions.
Serve with dips: These wraps pair beautifully with ranch, sour cream, spicy mayo, or even a homemade garlic yogurt sauce.
Warm your tortillas: Briefly heating the tortillas before assembling (about 10 seconds per side in a dry skillet) makes them more pliable and less likely to tear.
5. Storage & Reheating
Store any leftover Cheesy Garlic Chicken Wraps in an airtight container in the refrigerator for up to 3 days. To reheat, we recommend using the oven for best results: Preheat to 350°F (175°C), place wraps on a baking sheet, and heat for 5-7 minutes until warmed through. You can also use an air fryer at 350°F for 3-4 minutes for extra crispiness.
For freezing: Wrap each cooled wrap tightly in plastic wrap, then foil. Freeze for up to 1 month. To reheat from frozen, unwrap and bake at 375°F for 15-20 minutes until heated through.
6. Nutritional Information (Per Serving)
Calories: 420 kcal
Protein: 28g (excellent source for muscle building)
Carbs: 32g (mostly from the tortilla)
Fat: 20g (includes healthy fats from olive oil and cheese)
Fiber: 2g (boost this by using whole wheat tortillas)
Calcium: 25% DV (from the cheese)
7. Variations
Spicy Version: Add sliced jalapeños, a dash of cayenne pepper, or drizzle with hot sauce before baking. Pepper jack cheese works great here.
Low-Carb Option: Use large lettuce leaves (like butter lettuce or romaine) instead of tortillas, or low-carb wraps.
BBQ Twist: Swap the garlic butter for your favorite BBQ sauce and add some crispy onions.
Breakfast Version: Add scrambled eggs and swap the cheeses for cheddar and Monterey jack – perfect for breakfast!
Mediterranean Style: Use feta cheese, add spinach, and serve with tzatziki sauce.
8. Frequently Asked Questions
Can I use pre-cooked chicken? Absolutely! Shredded rotisserie chicken works wonderfully in this recipe. Just warm it with some garlic butter before assembling to boost the flavor.
Can I make these ahead of time? Yes! You can assemble the wraps up to 24 hours in advance, store them covered in the refrigerator, then bake when ready to serve. You may need to add 1-2 minutes to the baking time if starting from cold.
Can I freeze them? Definitely. Wrap tightly in foil after cooling completely, then freeze for up to 1 month. Reheat in a 375°F oven for 15-20 minutes from frozen (no need to thaw first).
What’s the best way to prevent soggy wraps? Make sure your chicken isn’t too wet (pat dry before seasoning), don’t overfill, and bake at a high enough temperature to crisp the tortilla.
Can I make these in an air fryer? Yes! Air fry at 375°F for 5-6 minutes, flipping halfway through. Works great for smaller batches.
9. Conclusion
These Cheesy Garlic Chicken Wraps are truly a game-changer for quick, satisfying meals that don’t compromise on flavor. With their perfect balance of garlicky chicken, melted cheese, and crispy tortilla, they’re guaranteed to become a regular in your meal rotation. What we love most is how versatile they are – perfect for casual dinners, packed lunches, party appetizers, or even a fun weekend cooking project with kids.
The recipe is forgiving enough for beginners yet offers plenty of room for creativity for experienced cooks. Whether you stick to the classic version or experiment with different cheeses, proteins, or add-ins, the results are always delicious. Plus, with the make-ahead and freezing options, you can always have a satisfying meal ready in minutes.
We’d love to hear how your Cheesy Garlic Chicken Wraps turn out! Share your creations with us and tell us about your favorite variations. Happy cooking, and enjoy every cheesy, garlicky bite! 🎉🍽️
Cheesy Garlic Chicken Wraps: Irresistibly Gooey & Bursting with Flavor! These quick and delicious wraps feature tender garlic-seasoned chicken, melted mozzarella and cheddar cheese, all wrapped in a crispy tortilla. Perfect for lunch, dinner, or game-day snacks, this easy recipe is customizable with your favorite toppings and dips.
Ingredients
Scale
2 boneless, skinless chicken breasts
1 tbsp garlic powder
1 tsp paprika
1 tsp salt
½ tsp black pepper
1 tbsp olive oil
4 large flour tortillas
1 cup shredded mozzarella cheese
½ cup shredded cheddar cheese
2 tbsp butter, melted
1 tsp dried parsley (optional, for garnish)
Instructions
Season the chicken breasts with garlic powder, paprika, salt, and black pepper.
Heat olive oil in a skillet and cook chicken for 6-7 minutes per side until golden brown. Slice into strips.
Assemble wraps by placing cheese and chicken on tortillas, then drizzle with melted butter.
Fold sides inward, roll tightly, and bake at 375°F (190°C) for 8-10 minutes until cheese melts.
Garnish with parsley and serve warm.
Notes
For extra flavor, add minced fresh garlic while cooking chicken.
Customize with pepper jack or gouda cheese for different tastes.
Add veggies like spinach or bell peppers for extra nutrition.
Serve with ranch, sour cream, or spicy mayo for dipping.
Store leftovers in the fridge for up to 3 days and reheat in oven or skillet.