Best Christmas Candy Recipes: Irresistible Holiday Treats to Sweeten Your Season 🎄🍬✨
1. Introduction
The holiday season just wouldn’t be complete without the sweet aroma of homemade Christmas candies filling your kitchen. These best Christmas candy recipes have been carefully selected to bring warmth, joy, and deliciousness to your festive celebrations. Whether you’re a baking enthusiast looking to expand your baking repertoire or a dessert lover searching for the perfect holiday treats, these recipes will become cherished traditions in your home.
From creamy peanut butter delights to rich chocolate confections, each recipe offers that special homemade touch that store-bought candies simply can’t match. The beauty of these treats lies in their simplicity – most require just a handful of ingredients and minimal equipment. As you’ll discover, making Christmas candy is as much about the joyful process as it is about the delicious results.
Step 1: Gather Your Ingredients
Quality ingredients are the foundation of any great candy recipe. For these best Christmas candy recipes, you’ll need:
Creamy peanut butter (the smoother, the better for that melt-in-your-mouth texture)
Unsalted butter (for controlling the saltiness)
Powdered sugar (to create that perfect candy consistency)
Pure vanilla extract (for depth of flavor)
Semi-sweet chocolate chips (for dipping, if desired)
A touch of coconut oil (to help the chocolate melt smoothly)
These simple ingredients combine to create candies that rival any professional dessert you’d find in a bakery. If you’re looking for more sweet inspiration, check out our Boston cream pie cupcakes for another holiday favorite.
Step 2: Mix the Peanut Butter Base
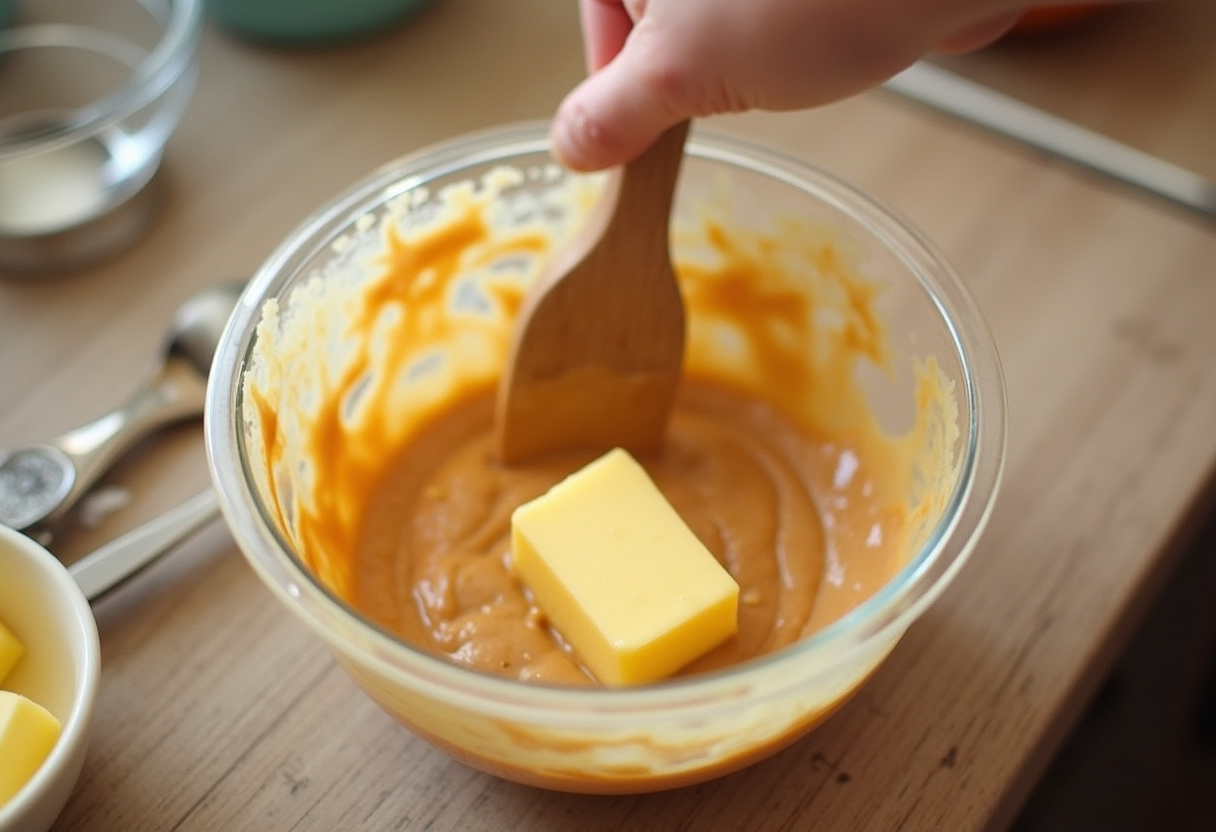
Creating the perfect peanut butter base is an art form. Start by gently melting your butter – you want it warm but not hot. Combine it with the peanut butter in a large mixing bowl, stirring until you achieve a perfectly smooth consistency. This is where the magic begins!
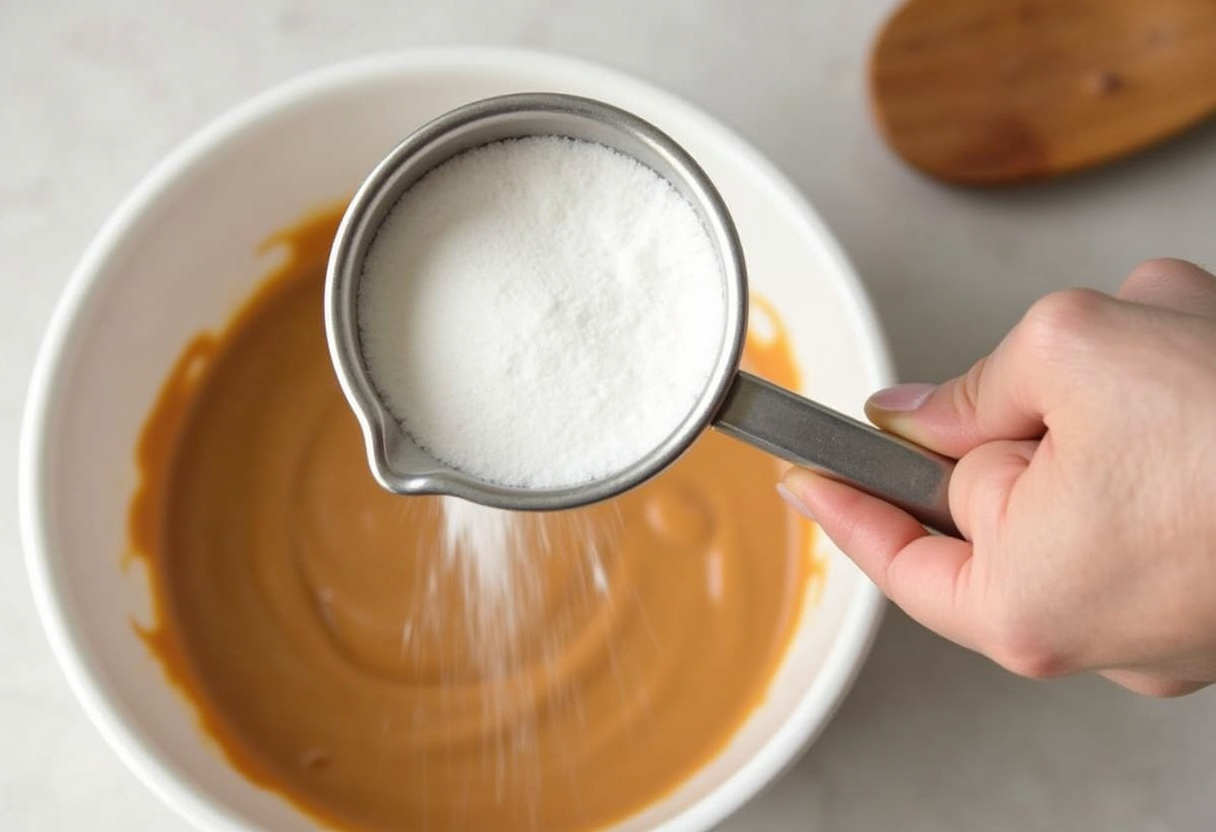
When adding the powdered sugar, do it gradually – about a half cup at a time – to prevent lumps and ensure even distribution. The mixture should transform before your eyes from a loose paste to a pliable dough that holds its shape when pressed. If you’ve ever made our French onion meatloaf, you know the importance of proper mixing techniques!
Pro tip: If your dough feels too sticky, resist the urge to add all the powdered sugar at once. Instead, add it tablespoon by tablespoon until you reach the perfect consistency – soft enough to shape but firm enough to hold its form.
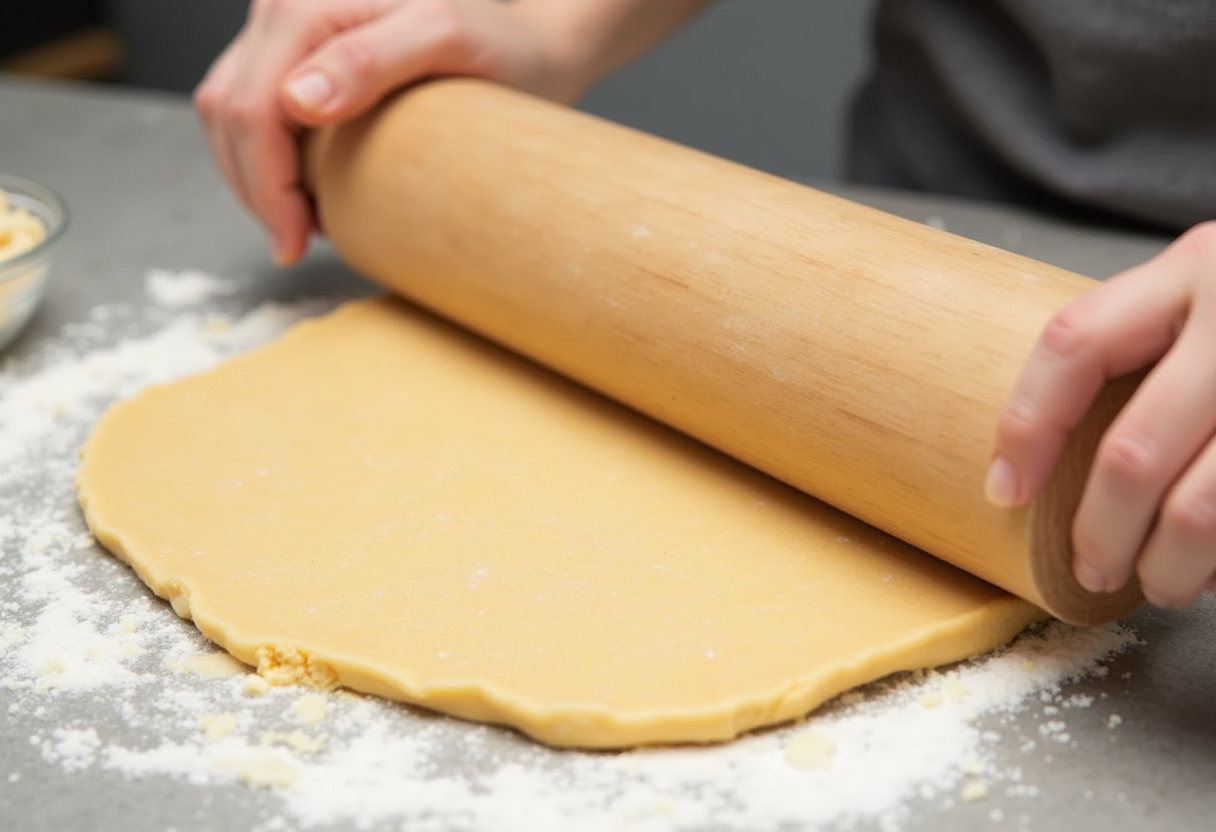
Step 3: Shape the Candies
This is where your creativity can shine! For classic peanut butter balls, roll teaspoon-sized portions between your palms. But why stop there? Christmas is the perfect time to get festive with your shapes:
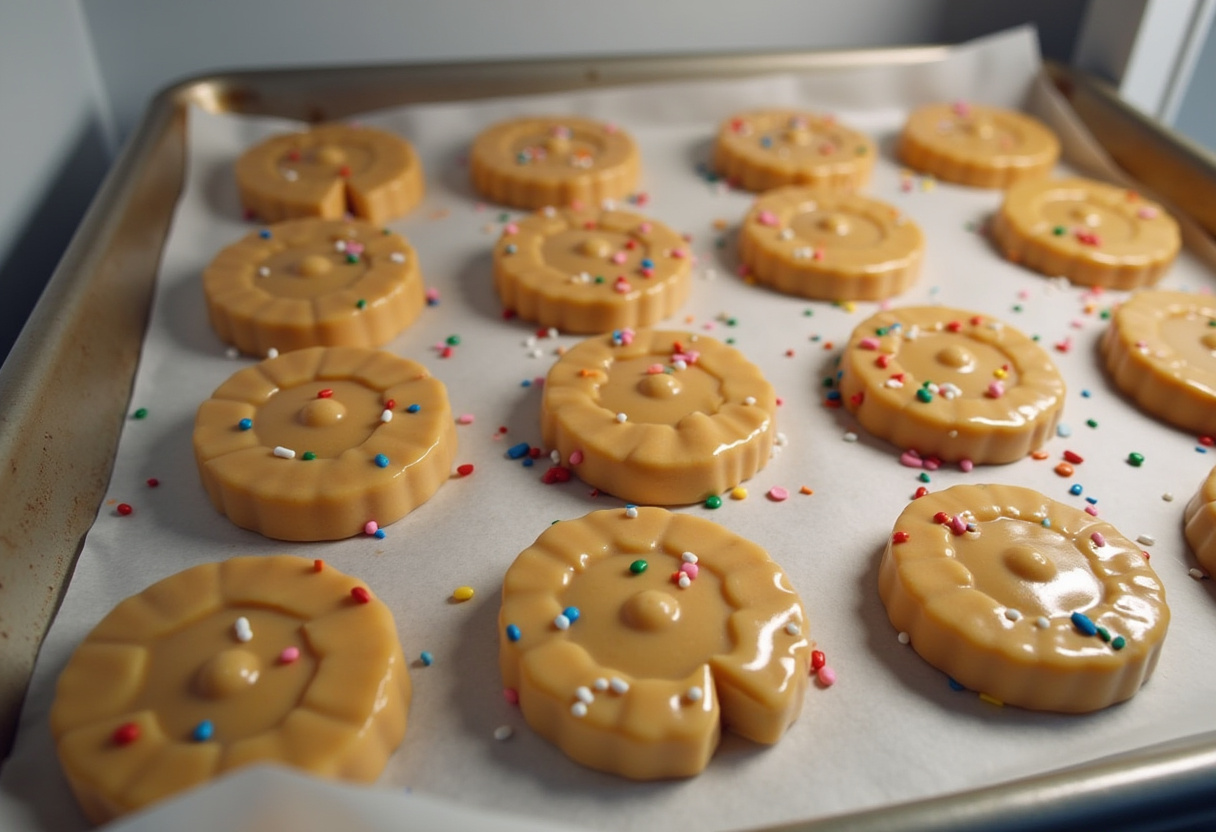
Use small cookie cutters for holiday shapes (stars, trees, snowflakes)
Create miniature “logs” that resemble Yule logs
Form into small squares for a more modern presentation
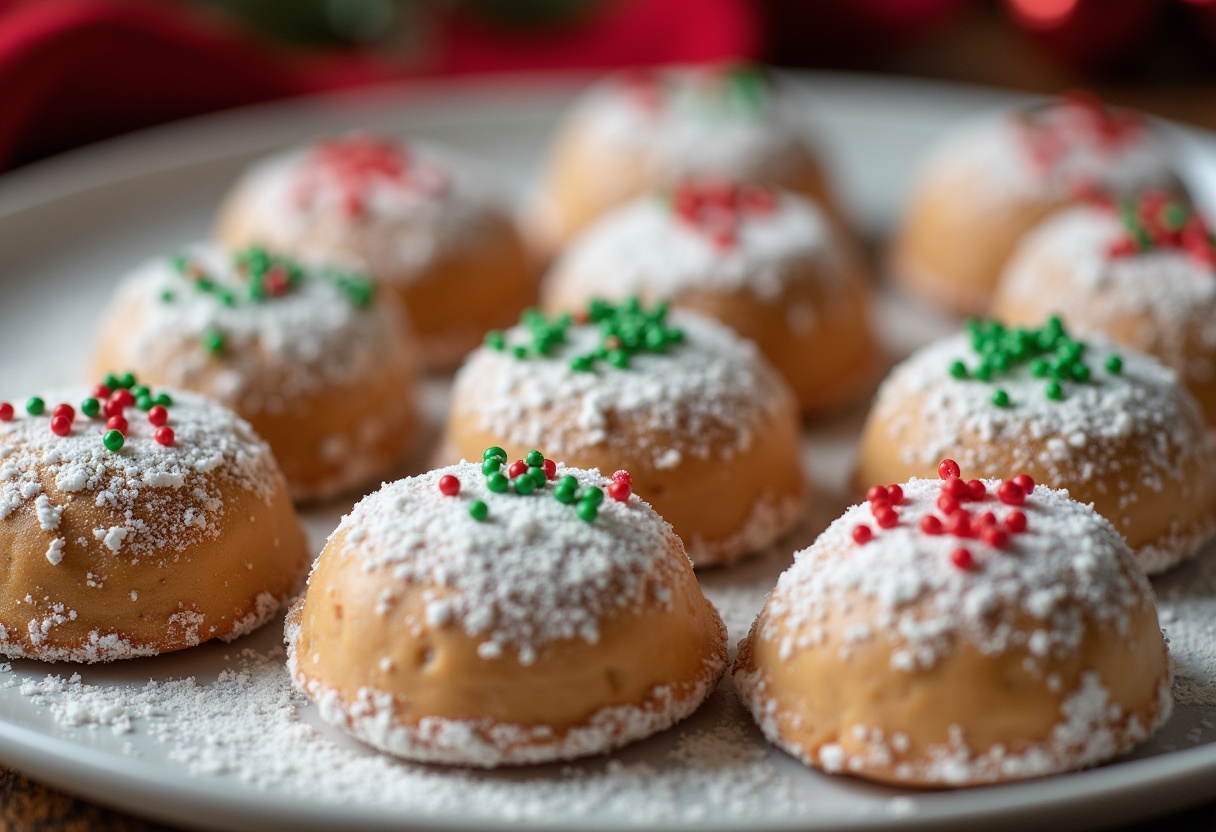
For an extra festive touch, consider pressing holiday-colored sprinkles or crushed candy canes into the surface before chilling. If you’re a fan of quick recipes like our spinach and feta quesadillas, you’ll appreciate how quickly these candies come together.
For chocolate lovers: After shaping, chill your candies for 30 minutes before dipping. This helps them hold their shape when coated in melted chocolate. Use a fork to gently lower each piece into the chocolate, then lift it out, letting excess chocolate drip off before placing on parchment paper.
Step 4: Chill and Serve
Patience is key at this final stage! Allow your candies to chill completely – at least one hour, though overnight is ideal if you’re preparing ahead. This ensures they develop the perfect texture: firm enough to hold their shape but soft enough to melt deliciously in your mouth.
Presentation matters during the holidays. Consider these serving ideas:
Arrange on a tiered dessert stand for parties
Package in decorative tins for heartfelt gifts
Create a candy buffet with different varieties
Add to cookie plates for variety
For more holiday recipe inspiration beyond candy, explore this fantastic collection of homemade Christmas candy ideas from Taste of Home.
Storage tip: These candies keep beautifully in an airtight container in the refrigerator for up to two weeks. You can also freeze them for up to three months – perfect for getting a head start on your holiday baking!
9. Conclusion
These best Christmas candy recipes are more than just treats – they’re edible memories in the making. Whether you’re continuing a family tradition or starting a new one, the process of creating these sweets is as meaningful as enjoying them. The simple act of making homemade candies can become a cherished holiday ritual, much like preparing our crack breakfast casserole for Christmas morning.
Remember, the best Christmas candies are made with love as much as ingredients. Don’t stress about perfection – slight variations make each batch uniquely yours. As you share these treats with loved ones, you’re not just giving candy, you’re giving the gift of time, care, and holiday spirit. From our kitchen to yours, we wish you the sweetest holiday season filled with joy, laughter, and of course, delicious homemade candies!
These Best Christmas Candy Recipes are the perfect way to sweeten your holiday season! Made with creamy peanut butter, rich chocolate, and festive decorations, these homemade candies are easy to make and irresistibly delicious. Perfect for gifting or enjoying at home, these treats will become a holiday favorite.
Ingredients
Scale
1 cup creamy peanut butter
1/4 cup unsalted butter, melted
2 cups powdered sugar
1 tsp vanilla extract
1 cup semi-sweet chocolate chips (optional)
1 tsp coconut oil (optional, for dipping)
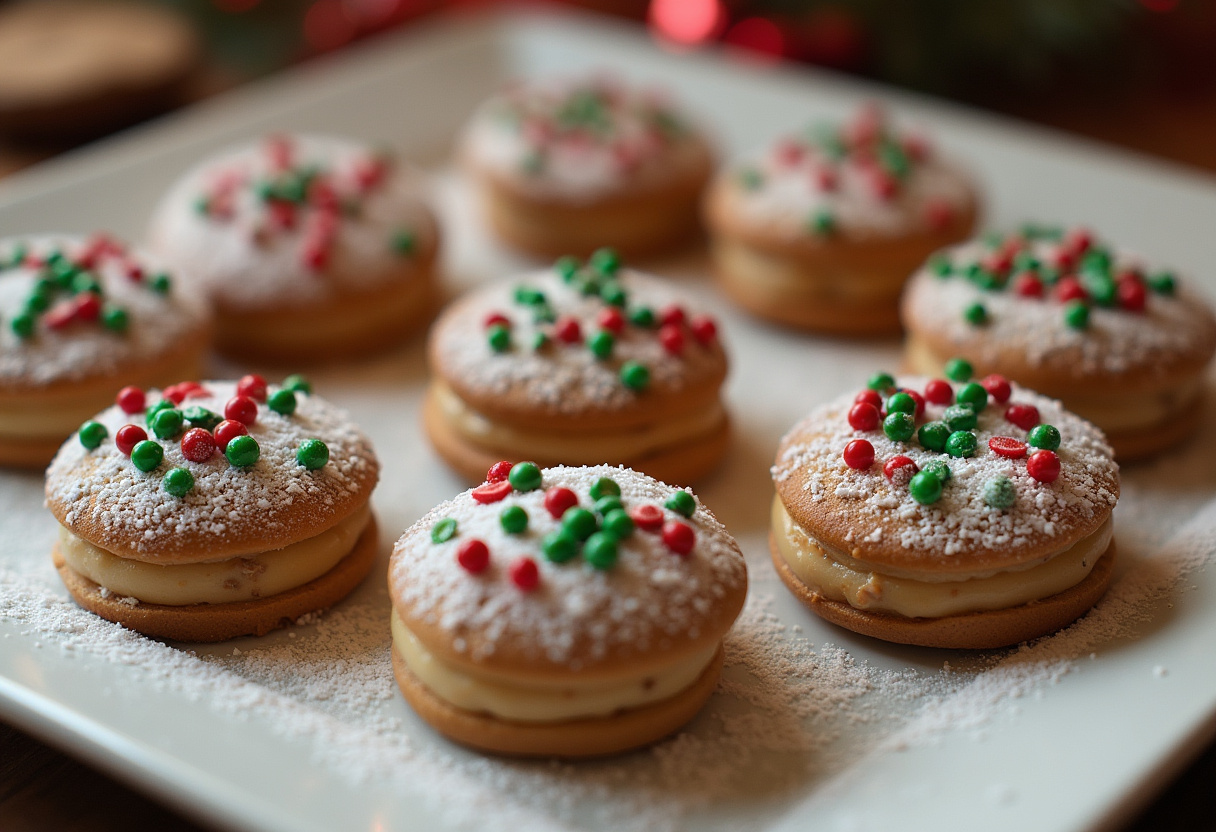
Festive M&Ms or sprinkles for decoration
Instructions
In a large bowl, mix peanut butter and melted butter until smooth.
Gradually add powdered sugar, stirring until a thick dough forms.
Roll dough into small balls or use cookie cutters for festive shapes.
Press M&Ms or sprinkles into the candies for decoration.
Optional: Chill shaped candies for 30 minutes, then dip in melted chocolate mixed with coconut oil.
Refrigerate for at least 1 hour to set before serving or gifting.
Notes
Store candies in an airtight container in the fridge for up to 2 weeks.
For a nut-free version, substitute sunflower seed butter.
Use festive sprinkles or edible glitter for extra holiday sparkle.
These candies make great edible gifts—package them in decorative boxes or bags.